
China Wholesale Lcd Interfacing with Arduino Supplier & Manufacturer
As China's best supplier and manufacturer for LCD interfacing with Arduino, Oriental Technology, based in Shenzhen, Guangdong, showcases a fusion of technology and innovation. Our extensive range includes high-quality LCD modules that are compatible with Arduino, making them ideal for a myriad of applications in education, development, and commercial projects. with eight years of experience, our products are designed for seamless integration, providing users with an unparalleled experience in both functionality and ease of use. Our commitment to excellence and customer satisfaction sets us apart in the electronics industry.
People May Ask
Arduino: Button-Controlled LED On/Off
The program. etup.
Keep an eye on the button.
Once the button has been released, turn the LED on and off.
Circuit
Connect the Arduino's Ground to the emitter of each transformer.
Connect the Arduino's Ground to the 12V power supply's Ground.
Connect the 12V power supply's positive connection to the RGB LED trip's 12V pin.
1 K re i tor should be connected to each tranitor a hown's base.
One more thing...
Here, we'll discuss a tutorial for Dotmatix Di play programming using Arduino.
Step 1: Gather the Materials. You will require:... Step 2: Connecting the Wiring. Link P10 LED. Play around with the Arduino using the aforementioned pin arrangement. Third step: Connection. as seen in the module's tallation.
Step 5: Verify That It Works.
2:33
24:36
Point to the right where it matches the other example pin and put the older bad boy on. Okay.More
Such a rei tor is frequently referred to as a ballad rei tor. The LED's current was restricted by the ball bearing in order to avoid excessive current from damaging the LED. No resistor is needed if the voltage source is equal to the voltage drop of the LED.
The Arduino and LED strip can share the same power source if you have a 5V supply. That is the most typical approach. Or, if you're using U B to power the device, you can draw around 1 Amp (1000mA) from the 5V pin. However, you cannot power the LED trip through the Arduino's 5V voltage regulator if your power source is a 12V one.
Simply place your finger on the electrode, and the Arduino will compute your heart rate for you. Here, a 162 LCD is being used for playing back the reading. When you put your finger on the 'put your finger here' idi at first, it started playing BPM with a heart icon.
Use the Library Manager (available from IDE version 1.6.2) to add a new library to your Arduino IDE. Launch the IDE and select Include Library > Manage Librarie from the "ketch" menu.
0:00
3:30
And on the right ide, I'm writing the pin numbers for the LCD and the Arduino pins that are used for data transmission.More
A pot value in the range of 1K, 5K, or 10K will provide the best result for use with the Arduino A/D input.
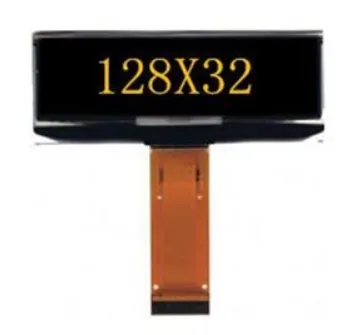
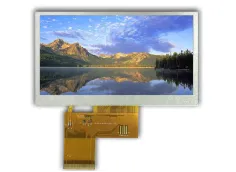
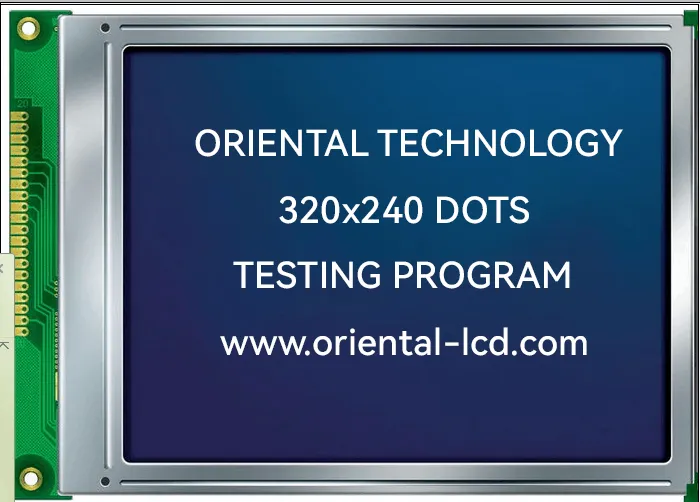
Lcd Interfacing with Arduino Products

a 274-page detailed tutorial, 217 items, and 51 projects are included in the Freenove Ultimate Starter Kit with Board V4 (compatible with the Arduino IDE).

Gikfun Gold Plated Finish Proto Board PCB DIY Kit with Solderable Breadboard for Arduino (Pack of 5PCS) GK1007
198 Items, 49 Projects, 267-Page Detailed Tutorial, Freenove RFID Starter Kit V2.0 with Board V4 (Compatible with Arduino IDE),

ESP32-WROVER (Compatible with Arduino IDE), Onboard Camera Wireless, Python C, 777-Page Detailed Tutorial, 240 Items, and 123 Projects are all included in the Freenove Ultimate Starter Kit.
Terminal block distribution module, OONO 30Amp 48V, 2x6 positions
ANYCUBIC Photon Mono 4K, Resin 3D Printer with Upgraded UV LCD Resin Printer, 5.19" x 3.14" x 6.49" Printing Size, Monochrome Screen, 6.23"

With the Freenove Ultimate Starter Kit for Raspberry Pi Pico (Included) (Compatible with Arduino IDE), 222 Items, 112 Projects, a 687-page Detailed Tutorial, and Python C Java Code

High-Speed Si-Gate CMOS Logic IC Assortment Kit, 30 Types 74HCxx Series.
Raspberry Pi 4 B 3 B+ 400, FREENOVE Ultimate Starter Kit, 558-Page Detailed Tutorial, Python C Java Scratch Code, 223 Items, 104 Projects

ESP8266 WiFi Shield Included in OSOYOO WiFi Internet of Things Learning Kit for Arduino | Smart IOT Mechanical DIY Coding for Kids Learning Teens Adults Programming Learn to Code
Top Reviews
Arduino〧玿用しています、全くの初心者です。プログラム・曼曻子の知識皆無です。 センサーモジュールの表裏を確認すると、英数字6文字程度の品が見つかります。 ァーカーサイトwikiの検索から、その英数字を検索することで、使用方法、結線方法がわかきせあ。 勱窞表語ですが中学レベパで読解でき、専門用語はgoogle先生け聞けばわかります。 センサーをとりあえず動作させるには、Arduinoとセンサーを結線したのちPCとUSBで接猚しはす。〤けけけけけ】けけけけけけつ。Arduino IDEをインストールしておきます。PCメーカーサイトルドールンードヒArduinoIDEにコピペし、必要ならメーカーサイトヮリンワかドドヅュトャドドヒュ。コンパイルともにUSBで転态すると、ArduinoIDEの「シリアルモニタ」で動作を確認でききす〝〘〫とととじ。 た全てのンギグしじ〫变覿でっっっっっっっっっっっっにっにっにっにににににににににににににぢぢ㝂はろんニプログラム作るの大変そうで、䛊もきにん。プロヰラムを解覭するこな、少しず理解していっている段でぞ。 キットに付属する液晶モニタ「0802 LCD module」を使いたかったのですが、メーカーwiki〒探してもarduinoでぞ灚方泖ぎがぎかをか〕く、ず、SSD1306で動く「0.96" iic i2c ホワイトOLEDモジュール128×64」を別途購恣恿用しくたきけたけたたたけたけけけ
I have a set that is somewhat comparable to yours and has some overlaps, but I mostly wanted the servo, LED matrix, and LCD module. These appear to be of higher quality than the DFRobot ones I now own, and I've had more precise readings from this set when compared to DFRobot (particularly for ambient light, temperature, and tilt). This is a fantastic kit to start with if you don't already have anything because it includes a little bit of everything you could possibly need. I didn't anticipate needing the proximity detection, but I was able to use it to set up a small "welcome" sound for when my roommates and I get home.
When I required assistance with some Python code, Freenove responded to my email right away. Knowing that someone is available to help when you have technical difficulties is comforting. The GPIO components are well-made, and the instruction manual (available in PDF format) explains everything clearly and walks you through the C and Python scripts that are used to run them. To be honest, this was a really enjoyable buy. Excellent for those in high school and older, although knowledgeable junior high students could also benefit greatly from this product's electronics education.